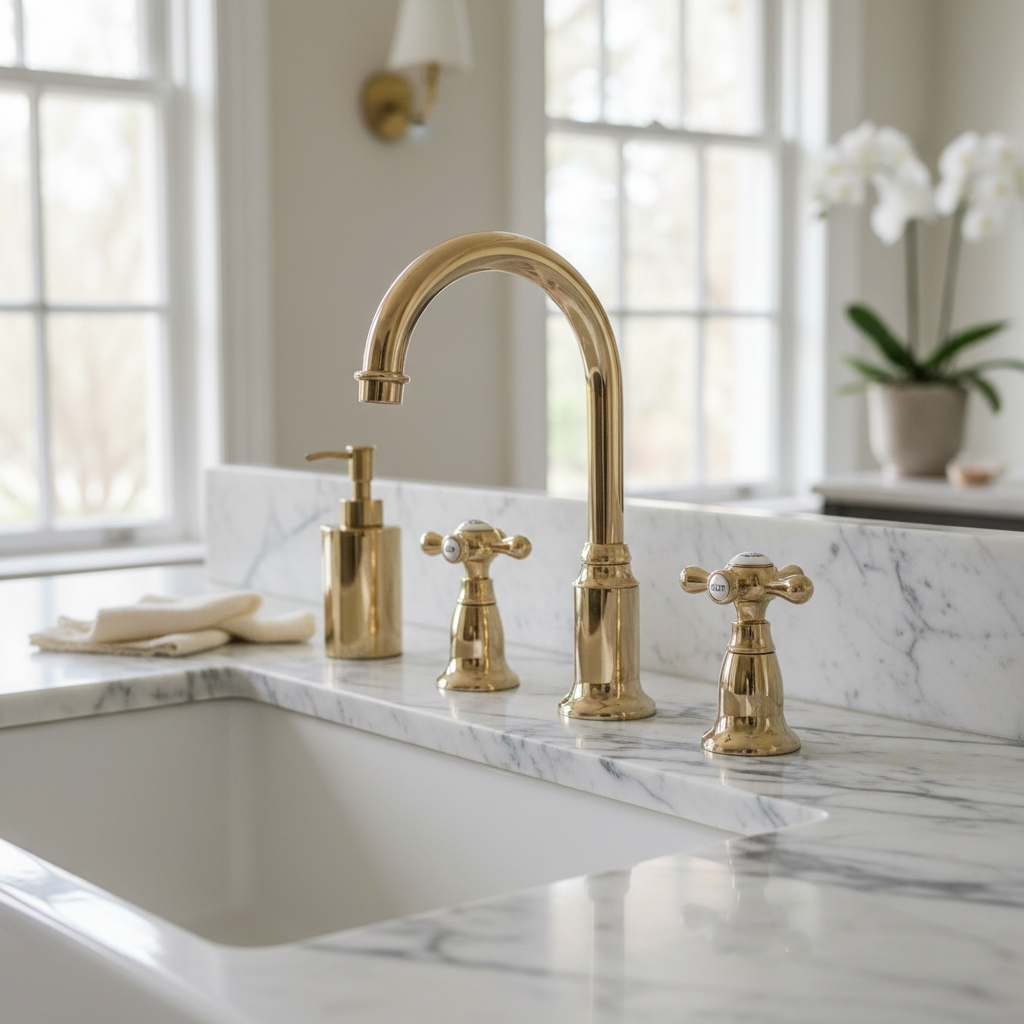
Few things are as frustrating as a leaky faucet or one with stubbornly low water pressure. The constant drip, the weak stream that barely fills a glass, or the struggle to rinse dishes efficiently can turn a simple task into an irritating ordeal. Often, the culprit behind these common plumbing woes is a worn-out faucet cartridge. This small, yet vital, component is responsible for controlling the flow and temperature of water in your tap.
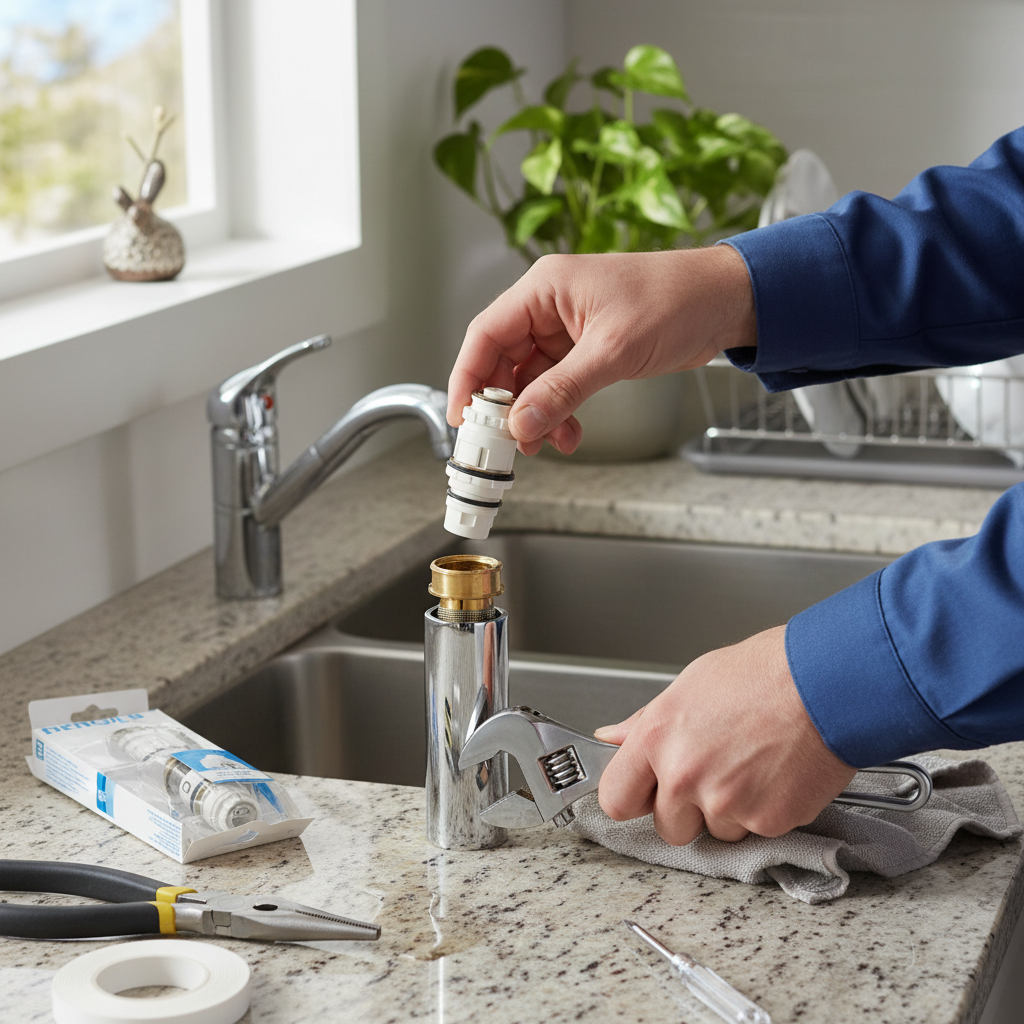
Fortunately, replacing a faucet cartridge is a DIY project well within the grasp of most homeowners. Tackling this repair yourself not only saves you money on plumber fees but also gives you the satisfaction of fixing a household problem with your own hands. This guide will walk you through the entire process, from understanding your faucet’s inner workings to successfully installing a new cartridge, ensuring your tap runs smoothly with optimal water flow once again.
Understanding Your Faucet: Why Cartridges Matter
A faucet cartridge is a cylindrical valve that precisely regulates the amount and temperature of water flowing from your faucet. It’s typically made of plastic or ceramic and contains intricate channels and seals that move with the handle to mix hot and cold water. When you adjust your faucet handle, the cartridge rotates or slides, aligning these channels to allow more or less water to pass through, and at what temperature.
Symptoms of a faulty cartridge are often clear indicators that it’s time for a replacement. A persistent drip, even when the faucet is fully closed, is a classic sign of worn seals within the cartridge. You might also experience inconsistent water flow, where the stream fluctuates unexpectedly, or a noticeable reduction in water pressure, indicating a blockage or damage to the internal mechanisms. A stiff or difficult-to-turn handle can also point to a cartridge nearing the end of its lifespan due to mineral buildup or degraded lubrication. Replacing a worn-out cartridge can address all these issues, restoring full water flow and proper function to your faucet, while also preventing further water waste and potential damage to your sink or countertop from constant leaks.
There are several types of cartridges commonly found in household faucets, each with a slightly different design.
- Ceramic disc cartridges are highly durable, featuring two ceramic discs that slide against each other to control water flow. These are often found in modern single-handle faucets and are known for their longevity.
- Compression cartridges are common in older, two-handle faucets and rely on rubber washers that compress to stop water flow.
- Ball cartridges are typically found in single-handle kitchen faucets and use a rotating ball to control the water.
- Washerless cartridges are a broader category that includes ceramic disc and some ball-type faucets, meaning they don’t use rubber washers like compression faucets.
You’ll usually be able to identify your faucet type and cartridge once you begin disassembly, but knowing the brand and model of your faucet can help in finding the correct replacement cartridge beforehand.
Gathering Your Tools and Supplies
Before you begin the faucet cartridge replacement, gathering all the necessary tools and supplies will ensure a smooth and efficient repair process. Having everything at hand prevents interruptions and makes the job much easier.
Essential Tools You’ll Need:
- Adjustable Wrench: Crucial for loosening and tightening retaining nuts and bonnet nuts.
- Screwdrivers: Both Phillips and flathead screwdrivers are typically needed to remove handle screws or decorative caps.
- Allen Wrench or Hex Key Set: Many modern faucets use small set screws to secure the handle, requiring a hex key for removal.
- Pliers:
- Needle-Nose Pliers: Ideal for removing small retaining clips or grabbing tiny components.
- Water Pump Pliers or Adjustable Pliers: Useful for gripping and turning stubborn nuts.
- Utility Knife (Optional): Can be helpful for carefully cutting away old, hardened O-rings if they are stuck.
- Basin Wrench (Optional): If you need to access nuts from beneath the sink that are hard to reach with a regular wrench, a basin wrench can be a lifesaver.
Replacement Cartridge and Additional Supplies:
- New Faucet Cartridge: This is the most critical item. The easiest way to ensure you get the correct replacement is to either take the old cartridge with you to the hardware store or note down your faucet’s manufacturer and model number. Cartridges are not universal; they vary significantly by brand and faucet design.
- Plumber’s Grease / Silicone Grease: Essential for lubricating new O-rings and other moving parts. This helps create a better seal, ensures smooth operation, and extends the life of the new components.
- Soft Cloths or Rags: For cleaning faucet parts, wiping away water, and protecting surfaces.
- Bucket or Small Container: To catch any residual water from the pipes when you shut off the supply.
- Flashlight: To help illuminate the dark spaces under the sink or inside the faucet body.
Step-by-Step Guide: Replacing Your Faucet Cartridge
Replacing a faucet cartridge can seem daunting, but by following these clear steps, you can confidently tackle this plumbing fix and restore your faucet’s functionality.
1. Safety First: Shut Off the Water Supply
|
Our Picks for the Best High pressure faucet in 2026
As an Amazon Associate I earn from qualifying purchases.
|
||
| Num | Product | Action |
|---|---|---|
| 1 | GIMILI Kitchen Faucet with Pull Down Sprayer Single Handle High Pressure Kitchen Sink Faucet Commercial Double-Headed Stainless Steel Kitchen Faucets Brushed Nickel and Black |

|
| 2 | Chrome Brass Wall Mount Faucet, Single Cold Water Utility Tap, G 1/2 Inch Connection for Laundry Sink, Mop Basin, Garage, Outdoor Garden Hose |
|
| 3 | TIORIY Kitchen Faucet Head with 15 Adapters, High Pressure 3 Functions Pull Down Kitchen Spray Head Replacement, Pull Out Kitchen Sink Sprayer Nozzle, Brushed Gold, ABS |
|
| 4 | TMOK 1/2" x 3/4" Brass Outdoor Faucet & High Pressure Jet Nozzle with Leakproof Shut Off Valve, Heavy-Duty Brass 3/4" GHT Hose Nozzle with 4 Garden Hose Rubber Washers, Teflon Tape |
|
| 5 | Kitchen Faucet with Pull Down Sprayer, High Arc Single Handle Brushed Nickel Stainless Steel 1 or 3 Hole Faucet for Kitchen Sink, Farmhouse, RV, Laundry, Bar, Outdoor |
|
| 6 | Inchant Outdoor Kitchen Sink Faucet - 360° Rotatable Single Hole Single Handle Cold Water Kitchen Faucet Flexible Neck Laundry Room Tap Bar Garden Outdoor Faucet, Deck Mount Chrome Finish |
|
| 7 | FORIOUS Kitchen Faucets with Pull Down Sprayer, Brushed Nickel, High Arc Single Handle Classic Stainless Steel Sink Faucet 1 or 3 Hole, Suitable for Farmhouse Camper Laundry Rv Bar |
|
| 8 | 2PCS 360 Degree Swivel Faucet Aerator Deluxe Water Saving Faucet Sprayer Water Saving Bubbler Pressurized Faucet Filter Kitchen Accessories (360 Degree, Count, 2) |
|
| 9 | 3-Adjustable Water Pressure Faucet with Booster Shower Heads - ABS Material, Extended Spout, Anti-Splash, Universal Connector |
|
| 10 | AIMADI Kitchen Faucet with Pull Down Sprayer,Commercial Stainless Steel Pull Down Sprayer Kitchen Faucet Single Hole Single Handle RV Laundry Outdoor Kitchen Sink Faucets |
|
Before you touch any part of the faucet, the absolute first step is to turn off the water. Locate the hot and cold water shut-off valves typically found underneath your sink. Turn both handles clockwise until they are completely closed. To verify the water is off, turn on your faucet to drain any remaining water from the lines; the flow should slow to a trickle and then stop completely. Finally, plug the sink drain with a stopper or a rag. This crucial step prevents small screws, clips, or other parts from accidentally falling down the drain during the repair.
2. Disassemble the Faucet Handle
The method for removing the faucet handle varies depending on your faucet’s design.
- For faucets with decorative caps: Many handles have small, decorative caps (often marked “H” and “C” for hot and cold, or simply a brand logo) that conceal a screw. Use a flathead screwdriver or your fingernail to carefully pry off these caps.
- For exposed screws: If the screw is visible on top of the handle, simply use the appropriate screwdriver (Phillips or flathead) to loosen and remove it.
- For side-mounted set screws: Many single-handle faucets and some two-handle models have a small set screw on the side or back of the handle. You’ll typically need an Allen wrench (hex key) to loosen and remove this screw.
Once the screw is removed, gently pull the handle straight up to detach it from the faucet body. Set all screws and decorative pieces aside in a safe place, like a small container, to avoid losing them.
3. Access the Cartridge
With the handle removed, the next step is to gain access to the cartridge itself.
- You may see a cap or dome-shaped cover directly beneath where the handle was. Twist this cap off by hand or use an adjustable wrench if it’s tight.
- Beneath this, you’ll likely find a bonnet nut or retaining nut. This nut holds the cartridge firmly in place. Use an adjustable wrench to turn it counter-clockwise until it’s loose enough to remove by hand. Be careful not to overtighten when reassembling later, as brass can be soft.
- Some faucets, especially single-handle models, might have a retaining clip instead of or in addition to a nut. This is often a small, horseshoe-shaped brass or plastic clip inserted into a slot around the cartridge. Use needle-nose pliers to carefully pull this clip straight up and out.
Once these fasteners are removed, the cartridge should be visible and ready for extraction.
4. Remove the Old Cartridge, O-Rings, and Springs
Carefully lift the old cartridge straight out of the faucet body. It might be a bit stiff due to mineral deposits or old lubricant; gentle wiggling or the use of pliers to grip the stem might be necessary. Some cartridges have a brass nut on top; if yours does, remove it and set it aside, as your new cartridge might not include one.
After removing the cartridge, inspect the faucet housing. Many faucets contain small O-rings (round rubber washers) and/or springs at the bottom of the cartridge well. These components are critical for sealing and proper function, and they often wear out along with the cartridge. Use a small screwdriver or pick to carefully remove any old O-rings and springs you find.
Finally, take a soft cloth and thoroughly clean the inside of the faucet housing. Remove any accumulated mineral deposits, rust, or debris. A clean surface is essential for the new cartridge to seat properly and form a tight seal.
5. Install the New Cartridge
Now it’s time to install the replacement cartridge.
- If your faucet uses springs and O-rings at the base, place the new springs into their respective seats first, then position the new O-rings over them. Apply a thin coat of silicone grease to the O-rings; this helps with sealing and makes installation smoother.
- Apply a thin slick of plumber’s grease around the exterior of the new cartridge where it will be inserted into the faucet body.
- Carefully insert the new cartridge into the faucet housing. Ensure it’s correctly oriented. Many cartridges have alignment tabs or notches that need to match corresponding slots in the faucet body. For single-handle faucets, make sure the hot and cold water sides align correctly (there might be “H” and “C” markings, or simply an understanding of which way the handle turns for hot/cold).
- Re-insert any retaining clips you removed earlier.
- Screw the bonnet nut or retaining nut back into place. Hand-tighten it first, then use your adjustable wrench to snug it up, but be careful not to overtighten. Excessive force can damage the nut or the faucet body.
6. Reassemble and Test the Faucet
The final steps involve putting everything back together and testing your work.
- Reattach the faucet handle(s), ensuring they are seated properly. Tighten any set screws or handle screws you removed earlier. Re-secure any decorative caps.
- Slowly turn the hot and cold water supply valves back on underneath the sink.
- Turn on the faucet and check for proper water flow and temperature control. Operate the handle through its full range of motion.
- Inspect around the base of the faucet and handle for any leaks.
Troubleshooting Tip: If you have a single-handle faucet and the hot and cold water are reversed, don’t worry! This is a common issue and an easy fix. Simply turn off the water supply again, remove the handle and bonnet nut, lift out the cartridge, rotate it 180 degrees, and then reassemble. This will correct the hot and cold orientation.
Common Faucet Cartridge Issues and Troubleshooting
Understanding the common problems associated with faucet cartridges can help you diagnose issues quickly and decide when replacement is necessary.
- Low Water Flow: A significant drop in water pressure or flow rate is often a primary indicator of a cartridge problem. Over time, mineral deposits (lime and calcium) can build up inside the cartridge’s small internal channels, restricting water passage. A new cartridge will clear these obstructions and restore full flow.
- Leaking or Dripping: The most common sign of a failing cartridge is a persistent drip from the spout or a leak around the base of the handle. This occurs when the internal seals or O-rings within the cartridge become worn, cracked, or hardened, preventing them from forming a watertight seal. Replacing the cartridge, along with any associated O-rings, is the direct solution.
- Stiff or Hard-to-Turn Handle: If your faucet handle requires excessive force to turn or adjust, it suggests internal friction within the cartridge. This can be due to mineral buildup preventing smooth movement or degraded lubrication on internal components. A new, lubricated cartridge will typically resolve this.
- Inconsistent Temperature Control: If your faucet struggles to maintain a consistent water temperature, or if the temperature fluctuates wildly, the mixing mechanism within the cartridge might be failing. This often happens with single-handle mixing cartridges where the hot and cold flow isn’t being properly regulated.
- Reversed Hot/Cold Water: As mentioned, if hot water comes out when you expect cold, or vice-versa, after a cartridge replacement, it usually means the cartridge was installed 180 degrees out of its correct orientation. A quick removal, rotation, and reinstallation will fix this.
When to Call a Professional
While replacing a faucet cartridge is a manageable DIY task for many homeowners, there are situations where calling a professional plumber is the wiser choice.
- Uncertainty or Lack of Experience: If you’re completely unsure about your faucet type, the specific cartridge needed, or if you feel uncomfortable working with plumbing, a professional can prevent costly mistakes.
- Stuck or Damaged Components: Sometimes, an old cartridge can be seized in place due to extensive mineral buildup or corrosion, making it extremely difficult or impossible to remove without specialized tools or risking damage to the faucet body itself. Plumbers have the tools and expertise to handle such stubborn situations.
- Persistent Leaks After Replacement: If you’ve replaced the cartridge and the leak or flow issue persists, there might be a more complex problem, such as a cracked faucet body, damaged valve seats, or issues with the water supply lines. A plumber can accurately diagnose and repair these underlying problems.
- Faucet Issues Beyond the Cartridge: If the problem seems to extend beyond the cartridge—for instance, if there’s a leak coming from connections beneath the sink that aren’t related to the cartridge, or if you suspect issues with your home’s main water pressure—a professional can provide a comprehensive solution.
- High-Value or Vintage Faucets: For very expensive, antique, or uniquely designed faucets, it might be best to entrust the repair to a professional who has experience with specific brands or delicate fixtures, minimizing the risk of irreparable damage.
Conclusion
Successfully replacing a faucet cartridge is a highly rewarding home repair that addresses common issues like annoying leaks and frustratingly low water flow. By understanding the function of these crucial components and following a methodical approach to replacement, you can restore your faucet’s optimal performance and prevent unnecessary water wastage. This DIY project empowers you with practical skills and contributes to a more efficient and comfortable home environment. With a few basic tools and a bit of patience, you’ve not only fixed a problem but also gained valuable experience. What DIY plumbing project will you tackle next?
Frequently Asked Questions
How often should a faucet cartridge be replaced?
The lifespan of a faucet cartridge varies greatly depending on water quality, frequency of use, and cartridge type. Typically, they can last anywhere from 5 to 10 years, but in areas with hard water, they might need replacing more frequently, every 2-3 years, due to mineral buildup and wear on the seals.
Can I use a universal faucet cartridge?
While some “universal” cartridges exist, it’s generally best to use a cartridge specifically designed for your faucet’s make and model. Faucets vary significantly in design, and an ill-fitting cartridge can lead to leaks, improper function, or even damage. Always try to match the brand and model number or take the old cartridge to the store for comparison.
What tools do I need to replace a faucet cartridge?
Key tools include an adjustable wrench, Phillips and flathead screwdrivers, an Allen wrench or hex key set, needle-nose pliers, and possibly water pump pliers. Silicone grease for lubrication and a soft cloth for cleaning are also highly recommended to ensure a proper installation.
Why is my water flow still low after replacing the cartridge?
If water flow remains low after replacing the cartridge, inspect the aerator at the end of the faucet spout for clogs caused by debris or mineral buildup. Also, check the shut-off valves under the sink to ensure they are fully open. If these aren’t the issue, there might be a problem further down the water line or with your home’s main water pressure.
How do I know if I have a cartridge faucet?
You can generally identify a cartridge faucet by how its handle operates: if you turn the handle to adjust the flow and temperature, it’s likely a cartridge faucet. Compression faucets, common in older homes, typically require you to push down or screw down the handle to turn off the water. The definitive way is to disassemble the handle and inspect the internal mechanism.